I was working on a react-native app in which I used react-navigation for routing. React-navigation provides 3 different types of navigators - Stack, Tab, Drawer. I used all and they worked well except of Drawer. I faced some issues while integrating Drawer navigator.
My app require to display drawer only in few pages but react-navigation drawer is available in all pages throughout the app. Yes, it's possible using nested routes but still there are different set of problems. I was able to open drawer by swiping in any page. My app needed to open drawer by click and not by swipe. Also I was not able to access Drawer Navigator instance from any other component. I don’t found any useful documentation that help me to fulfill my requirements, so I took a third-party drawer module and created custom drawer using redux option of react-navigation.
Links which I referred but have not found any meaningful solution
https://github.com/react-community/react-navigation/issues/131
https://github.com/react-community/react-navigation/issues/967
https://github.com/react-community/react-navigation/issues/725
This blog shows an example of how we can integrate custom drawer in react-navigation. It uses 'react-native-drawer' module.
Create react-native app and setup redux.
          /* app/MainApp.js */

    import React, { Component } from 'react';
    import {
      AppRegistry,
      StyleSheet,
      Text,
      View
    } from 'react-native';

    import { Provider } from 'react-redux';
    import { createStore, applyMiddleware, compose } from 'redux';
    import { createLogger } from 'redux-logger';
    import thunkMiddleware from 'redux-thunk';
    import reducer from './reducer';

    const loggerMiddleware = createLogger({ predicate: () => __DEV__ });

    function configureStore(initialState) {
      const enhancer = compose(
        applyMiddleware(
          thunkMiddleware,
          loggerMiddleware,
        ),
      );
      return createStore(reducer, initialState, enhancer);
    }

    const store = configureStore({});

    export default class DrawerApp extends Component {
      render() {
        return (
          <Provider store={store}>
          <View style={styles.container}>
            <Text style={styles.welcome}>
              Drawer App
            </Text>
          </View>
        </Provider>
        );
      }
    }

    const styles = StyleSheet.create({
      container: {
        flex: 1,
      },
      welcome: {
        fontSize: 20,
        textAlign: 'center',
        margin: 10,
      }
    });
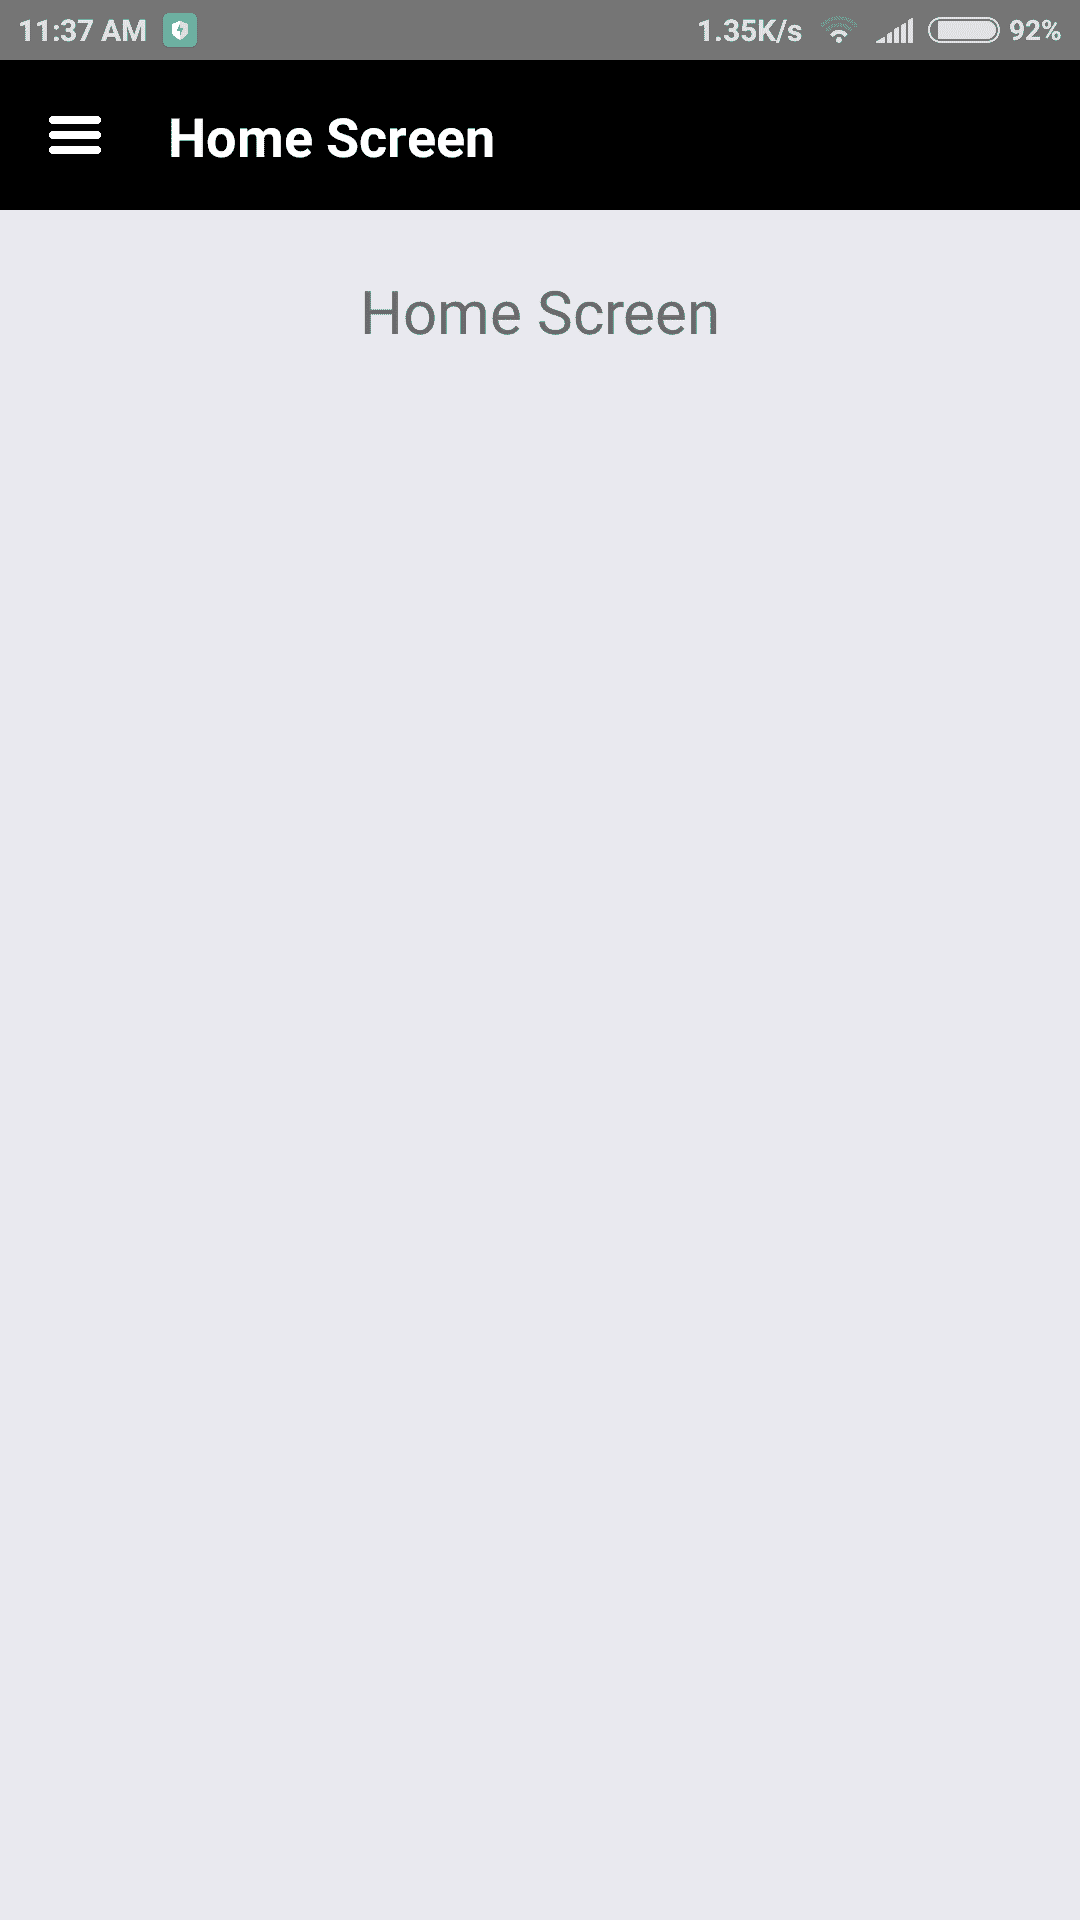
Then define some routes using Stack Navigator of react-navigation. In this example there are two routes - 'Home' and 'About'. Home screen will contain a menu icon in header on click of which drawer can be open. About screen will have back arrow icon to go back to Home screen.
npm install react-navigation --save
  /* app/navigator/MainStack.js */

  import { React } from 'react';
  import { StackNavigator } from 'react-navigation';

  import Home from '../components/home/Home';
  import About from '../components/about/About';
  import LeftIconComponent from '../components/header/LeftIconComponent';

  const navigationOptions = {
    headerStyle: {
      backgroundColor: '#000',
      height: 50,
      justifyContent: 'flex-end',
      elevation: 0,
    },
    headerTitleStyle: {
      color: '#FFFFFF',
      justifyContent: 'flex-end',
    },
    headerTintColor: '#FFFFFF',
  };

  const MainStack = new StackNavigator({
    Home: {
      screen: Home
    },
    About: {
      screen: About
    }
  }, {
    navigationOptions
  })

  export default MainStack;
Now lets integrate Drawer. Add 'react-native-drawer' module in the app.
npm install react-native-drawer --saveCreate a component say AppNavigator and call it from MainApp component. Add Drawer and Routes in this component.
  /* app/navigator/AppNavigator.js*/

  import React, { Component } from 'react';
  import {
    AppRegistry,
    StyleSheet,
    Text,
    View
  } from 'react-native';
  import { connect } from 'react-redux';
  import { addNavigationHelpers, NavigationActions } from 'react-navigation';

  import Drawer from 'react-native-drawer';
  import DrawerComponent from '../components/side_drawer/DrawerComponent';

  import MainStack from './MainStack';

  class AppWithNavigationState extends Component {
    constructor() {
      super();
      this.openDrawer = this.openDrawer.bind(this);
      this.closeDrawer = this.closeDrawer.bind(this);
    }

    openDrawer() {
      this.drawer.open();
    }

    closeDrawer() {
      this.drawer.close();
    }

    render() {
      const drawerMethods = {
        openDrawer: this.openDrawer,
        closeDrawer: this.closeDrawer,
      };
      return (
          <Drawer
            ref={ref => (this.drawer = ref)}
            type="overlay"
            content={<DrawerComponent drawerMethods={drawerMethods} />}
            tapToClose
            openDrawerOffset={0.25}
            panOpenMask={-1}
            tweenHandler={ratio => ({
              main: { opacity: (2 - ratio) / 2 },
            })}
          >
          <MainStack
            navigation={addNavigationHelpers({
              dispatch: this.props.dispatch,
              state: this.props.navReducer,
            })}
            screenProps={drawerMethods}
          />
        </Drawer>
      );
    }
  }

  const mapStateToProps = state => ({
    navReducer: state.navReducer,
  });

  export default connect(mapStateToProps)(AppWithNavigationState);
In the above code, methods openDrawer() and closeDrawer() are define to toggle drawer and are passed as props in DrawerComponent as well as into navigator component as screenProps.
Also, there is a navigation prop passed to navigator which will handle the navigation state in redux. It must provide the current state and a dispatcher to handle navigation options. For this, create an Action to handle routing and respective reducer. For more details about navigation please refer react-navigation with redux.
  /* app/actions/navigation.js */

  import { NavigationActions } from 'react-navigation';

  export function navigate(route, params) {
    return (dispatch) => {
      dispatch(NavigationActions.navigate({ routeName: route, params }));
    };
  }
  /* app/reducer/navigation.js */

  import MainStack from '../navigator/MainStack';

  const initialState = MainStack.router.getStateForAction(MainStack.router.getActionForPathAndParams('Home'));


  export const navReducer = (state = initialState, action) => {
    const nextState = MainStack.router.getStateForAction(action, state);
    return nextState || state;
  };
As I said, the drawer can be open on click of menu icon in Home screen header. To do so define headerLeft property in navigationOptions of Home screen. To know about more properties visit react-navigation StackNavigator.
  /* app/components/home/Home.js */

import LeftIconComponent from '../header/LeftIconComponent';

class Home extends React.Component {
  static navigationOptions = (navigation) => ({
    headerTitle: 'Home Screen',
    headerLeft: <LeftIconComponent {...navigation} />
  })

  render () {
    return(
      ...
    )
  }
}
  /* app/components/header/LeftIconComponent.js */

  import React from 'react';
  import {
    TouchableOpacity,
    Image,
  } from 'react-native';

  const styles = StyleSheet.create({
    menuIcon: {
      flex: 1,
      alignItems: 'center',
      justifyContent: 'center',
      marginLeft: 15,
    },
  });

  class LeftIconComponent extends React.Component {
    constructor() {
      super();
      this.pressMenu = this.pressMenu.bind(this);
    }

    pressMenu() {
      this.props.screenProps.openDrawer();
    }

    render() {
      return (
        <TouchableOpacity style={styles.menuIcon} onPress={this.pressMenu}>
          <Image source={require('../../assets/images/mobile_menu.png')}
            style={{ resizeMode: 'contain', width: 20, height: 20}} />
        </TouchableOpacity>
      );
    }
  }

  export default LeftIconComponent;

Home Screen
In the above code, openDrawer() method which was passed as screenProps from navigator is called on click to open drawer.
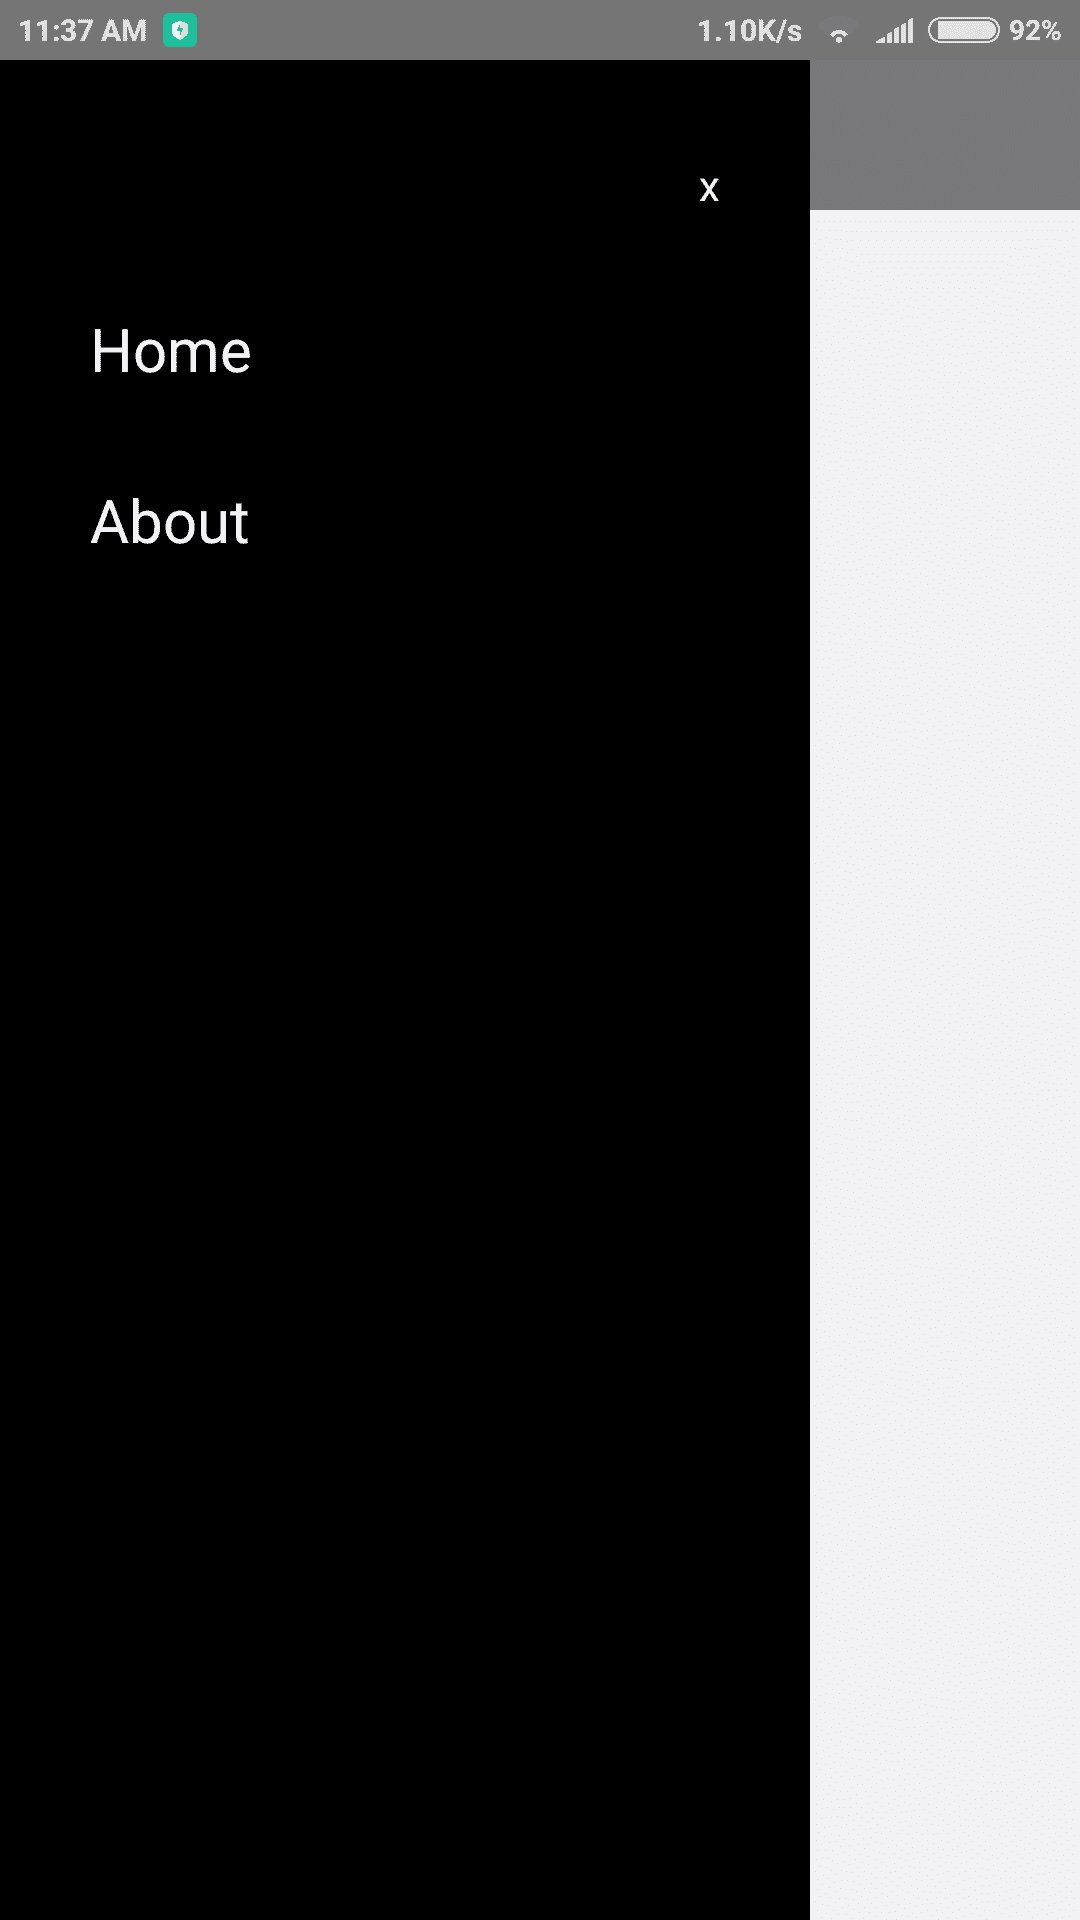
Now to navigate through drawer, lets define DrawerComponent.
  /* app/components/side_drawer/DrawerComponent.js */

  import React, { PropTypes } from 'react';
  import {
    Text,
    TouchableOpacity,
    View,
  } from 'react-native';
  import styles from './style';

  import { bindActionCreators } from 'redux';
  import { connect } from 'react-redux';
  import { ActionCreators } from '../../actions';

  class DrawerComponent extends React.Component {
    constructor(props) {
      super(props);
      this.closeDrawer = this.closeDrawer.bind(this);
      this.pressLink = this.pressLink.bind(this);
    }

    closeDrawer() {
      this.props.drawerMethods.closeDrawer();
    }

    pressLink(screen) {
      this.props.navigate(screen);
      this.props.drawerMethods.closeDrawer();
    }

    render() {
      return (
        <View style={styles.container}>
          <TouchableOpacity style={styles.closeContainer} onPress={this.closeDrawer}>
            <Text style={styles.text}>x</Text>
          </TouchableOpacity>
          <View style={styles.menuContainer}>
            <TouchableOpacity onPress={() => this.pressLink('Home')}>
              <Text style={styles.menus}>Home</Text>
            </TouchableOpacity>
            <TouchableOpacity onPress={() => this.pressLink('About')}>
              <Text style={styles.menus}>About</Text>
            </TouchableOpacity>
          </View>
        </View>
      );
    }
  }

  function mapStateToProps(state) {
    return {
      navReducer: state.navReducer
    };
  }

  function mapDispatchToProps(dispatch) {
    return bindActionCreators(ActionCreators, dispatch);
  }

  export default connect(mapStateToProps, mapDispatchToProps)(DrawerComponent);
In above component, there are 2 links on click of which an action is called to navigate to respective component and the drawer is closed.

Drawer
In this example, drawer can be opened only from Home screen. We cannot open it from About screen. To open drawer from any component we need to call drawer's open method. You can explore more options of drawer from react-native-drawer.
Reach us at hello@3braintechnologies.com or call us on +91 8866 133 870.
Hire React Native App Developers